Zero Dam Map: All 14 Spawn Points, Extraction Gates & Loot
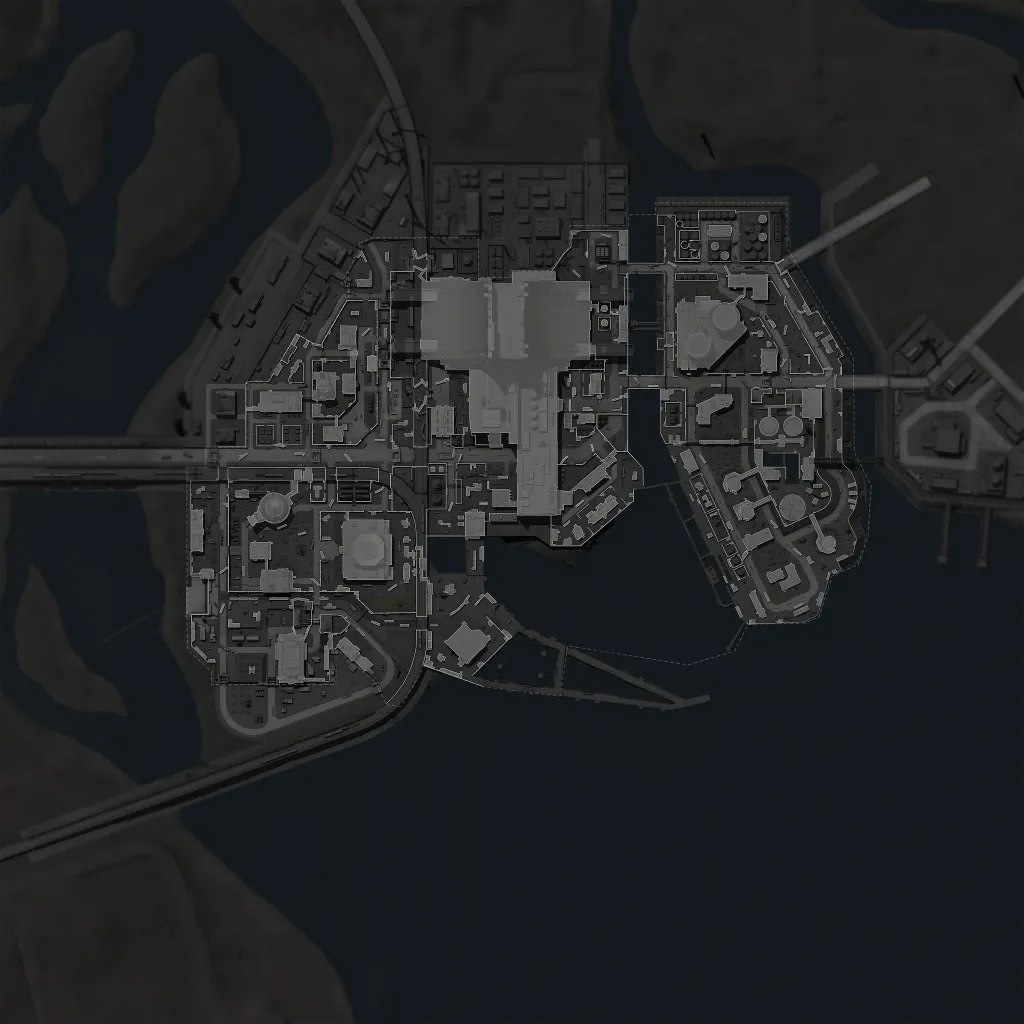
Complete tactical reconnaissance map for Delta Force: Hazard Operations at Zero Dam. Analyze all 14 operator spawn coordinates, 10 extraction conditions, 12 locked keycard suites, and electronic safe codes across the industrial hydroelectric complex.
Zero Dam features 14 operator spawn points concentrated around the Cement Plant, Dam Crest, and Barracks perimeter. Squads spawning at Cement Factory or Dam Crest hold immediate high-ground control over the Administrative Block. Dam Crest Spillway is the safest permanent extraction, while the Sub-Turbine Slide offers an instant exit for squads carrying maintenance keys.
Interactive Satellite Grid: Zero Dam (1400x1400 High Precision)
Use Drag to Pan · Scroll to ZoomZero Dam Interactive Tactical Map
High-altitude concrete gravity dam featuring subterranean turbine halls, administrative offices, and open spillway extraction chokepoints.
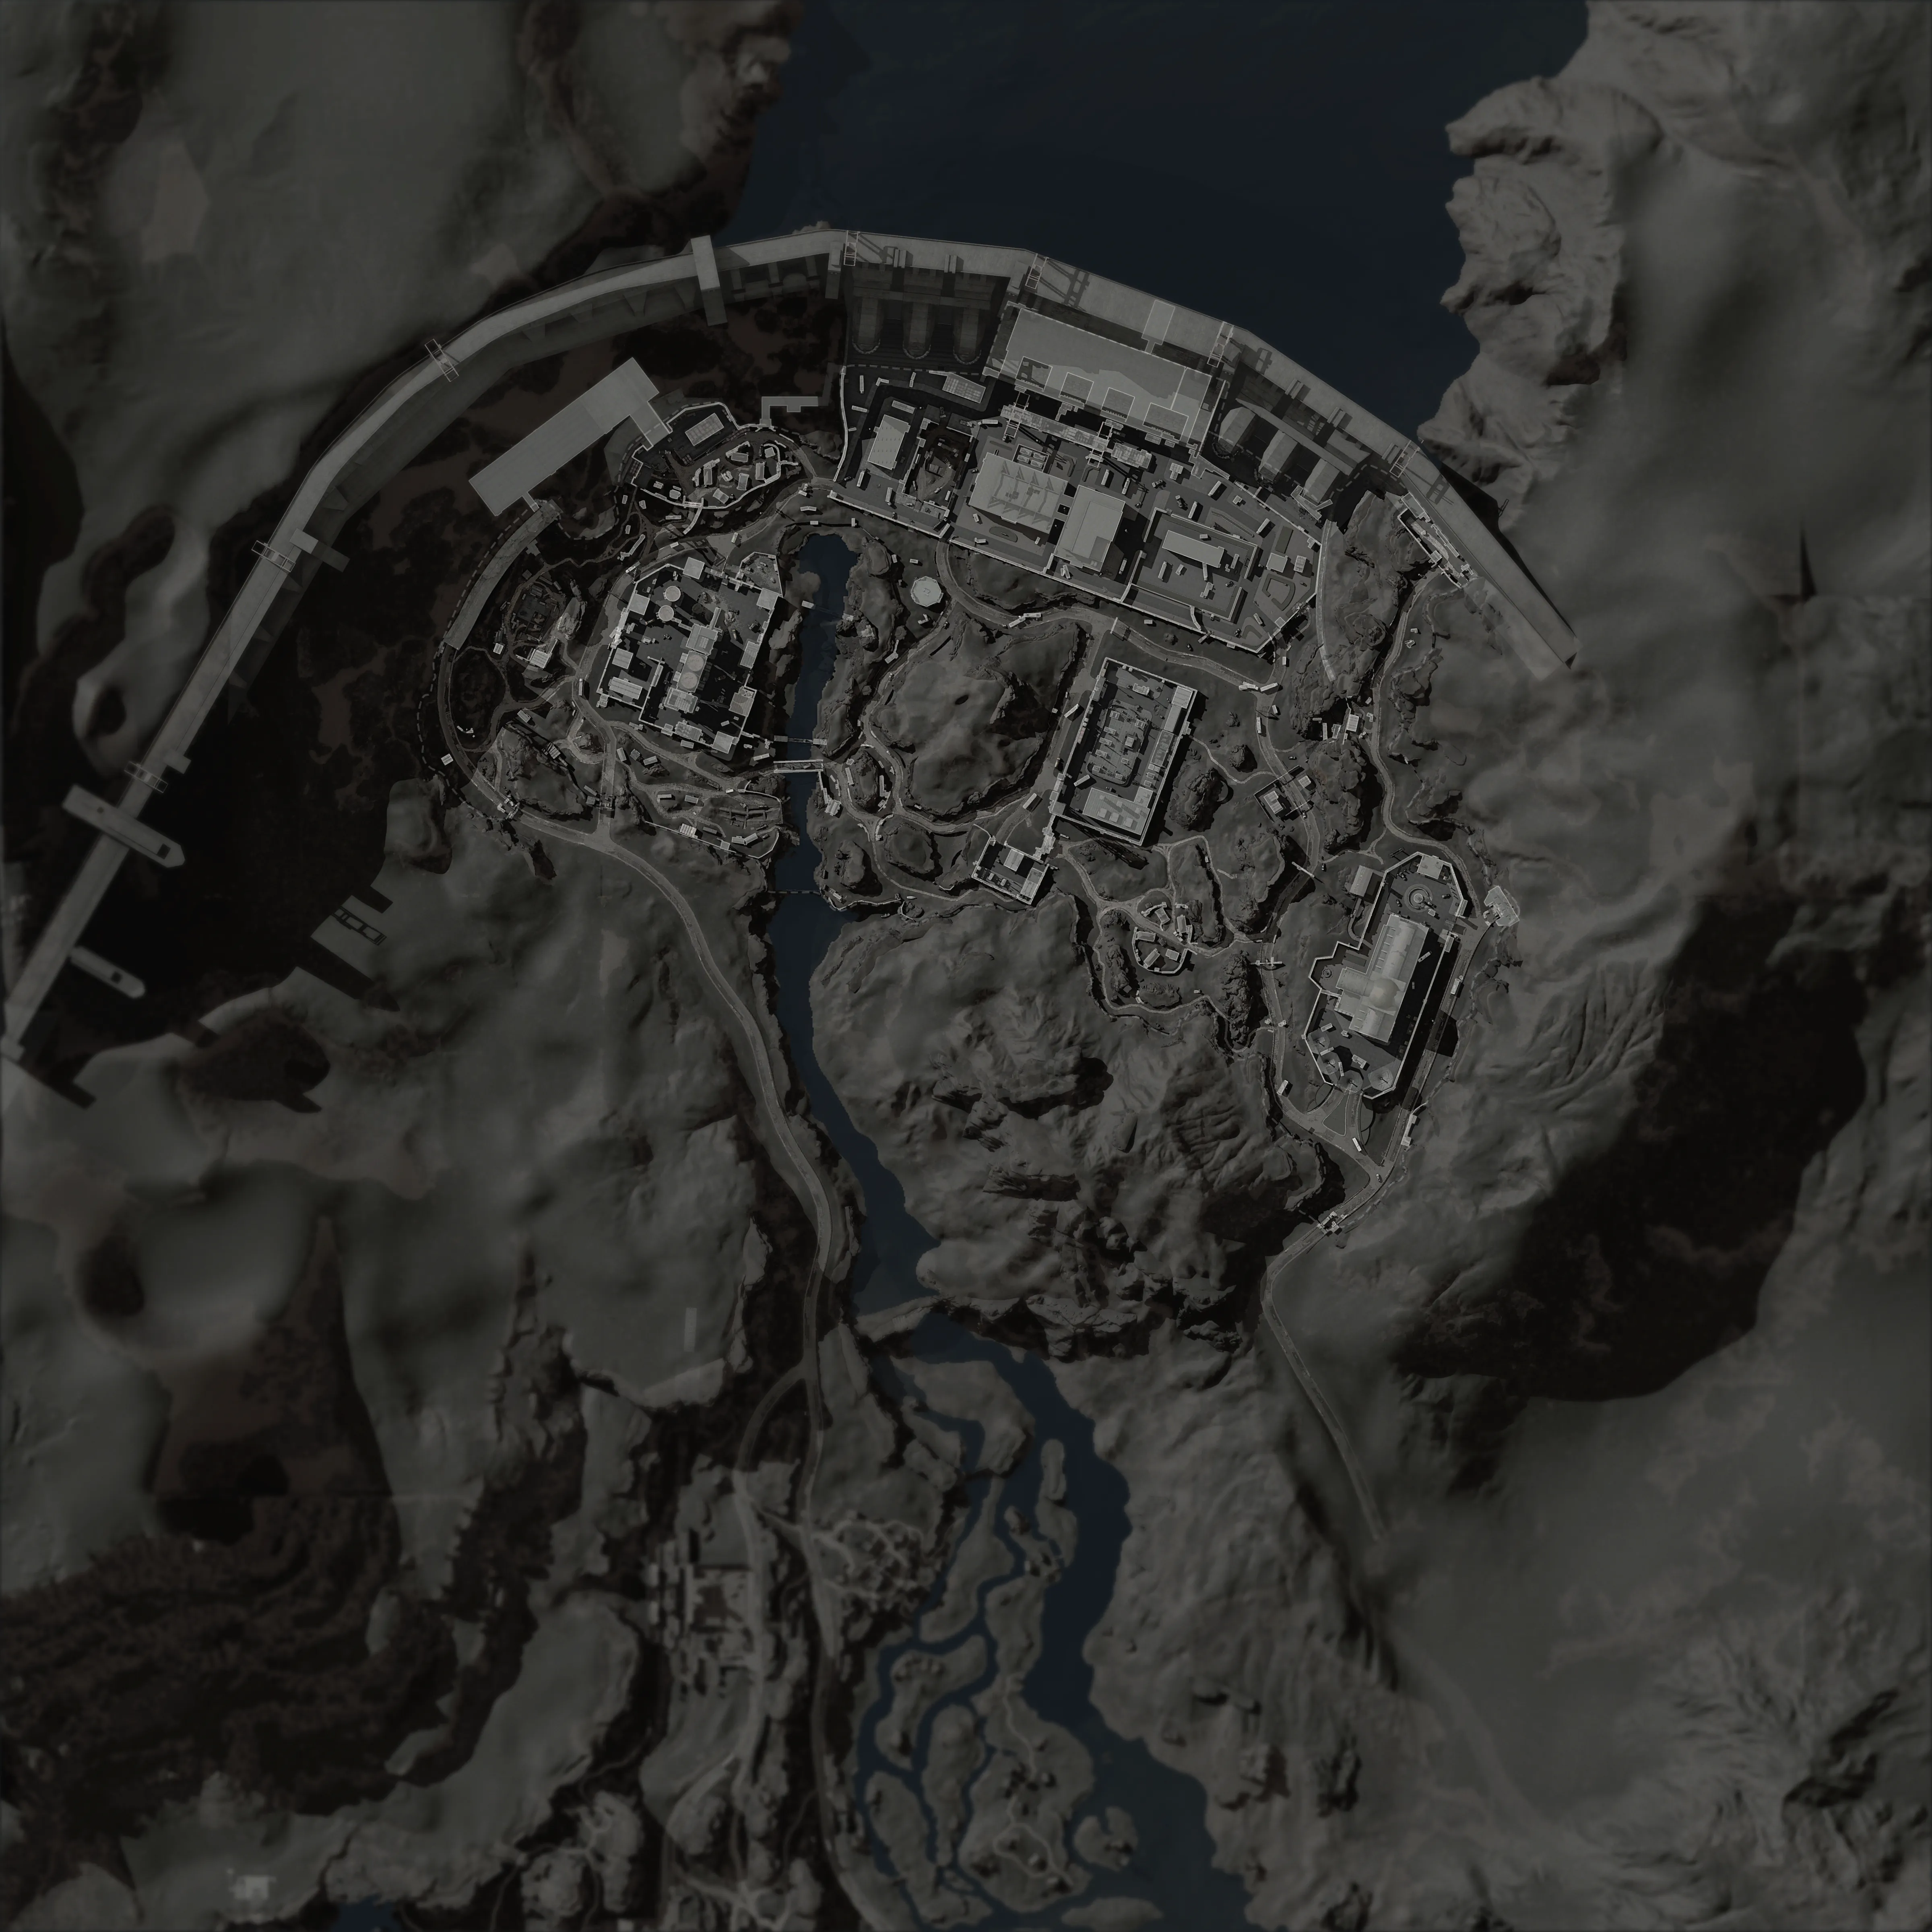
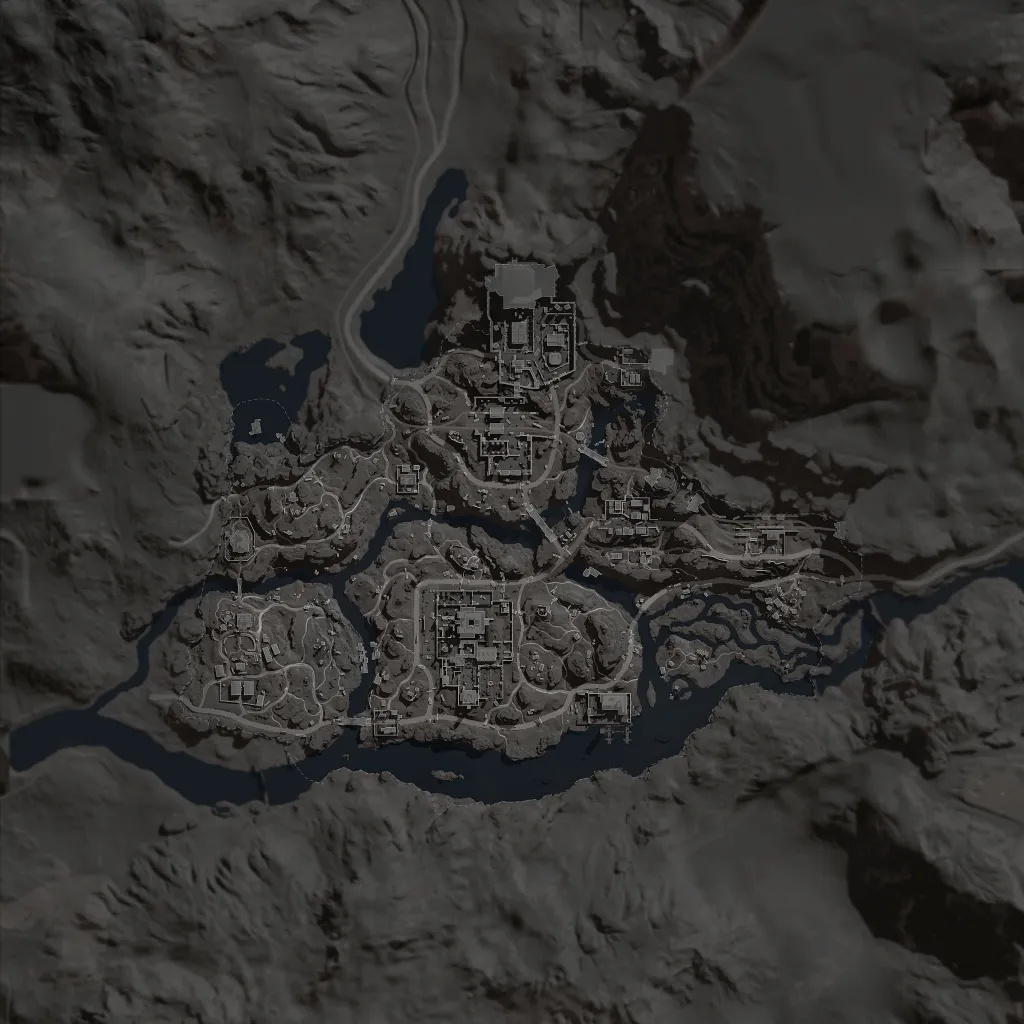
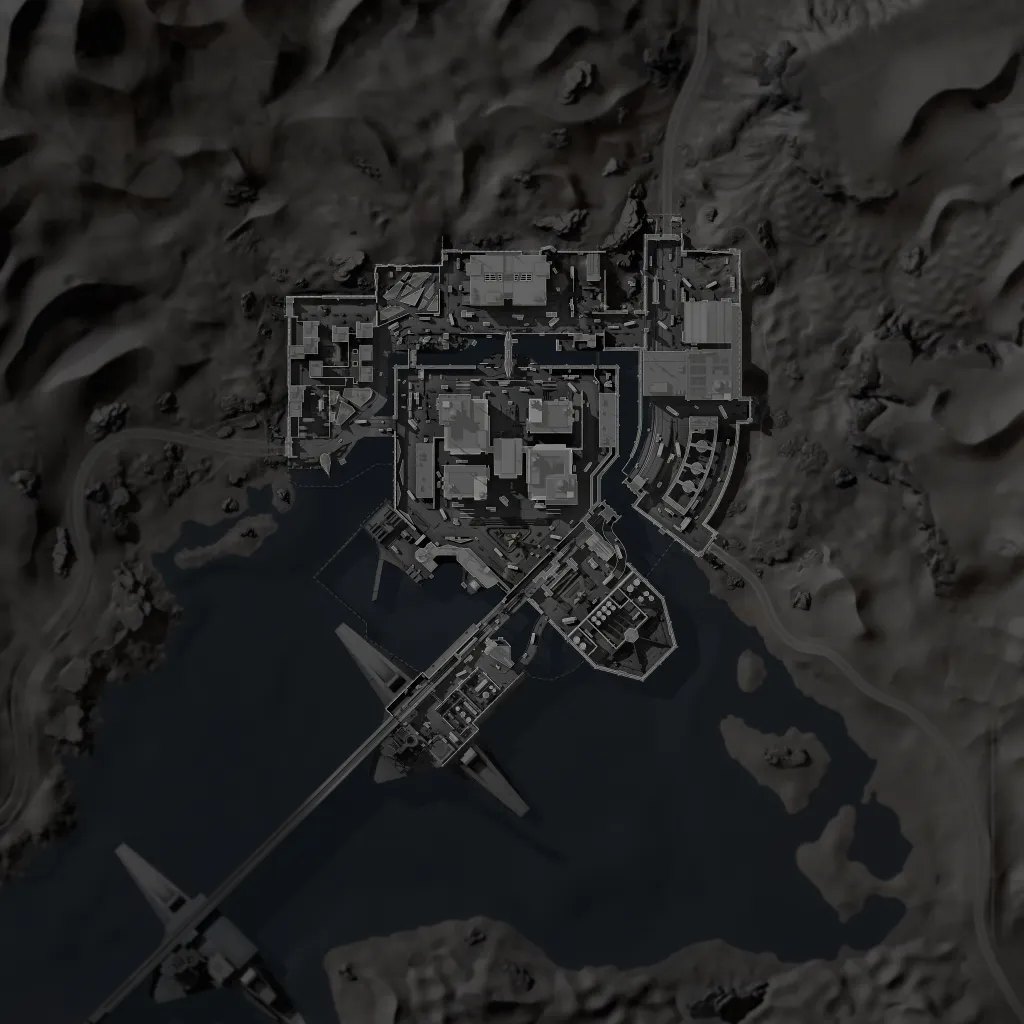
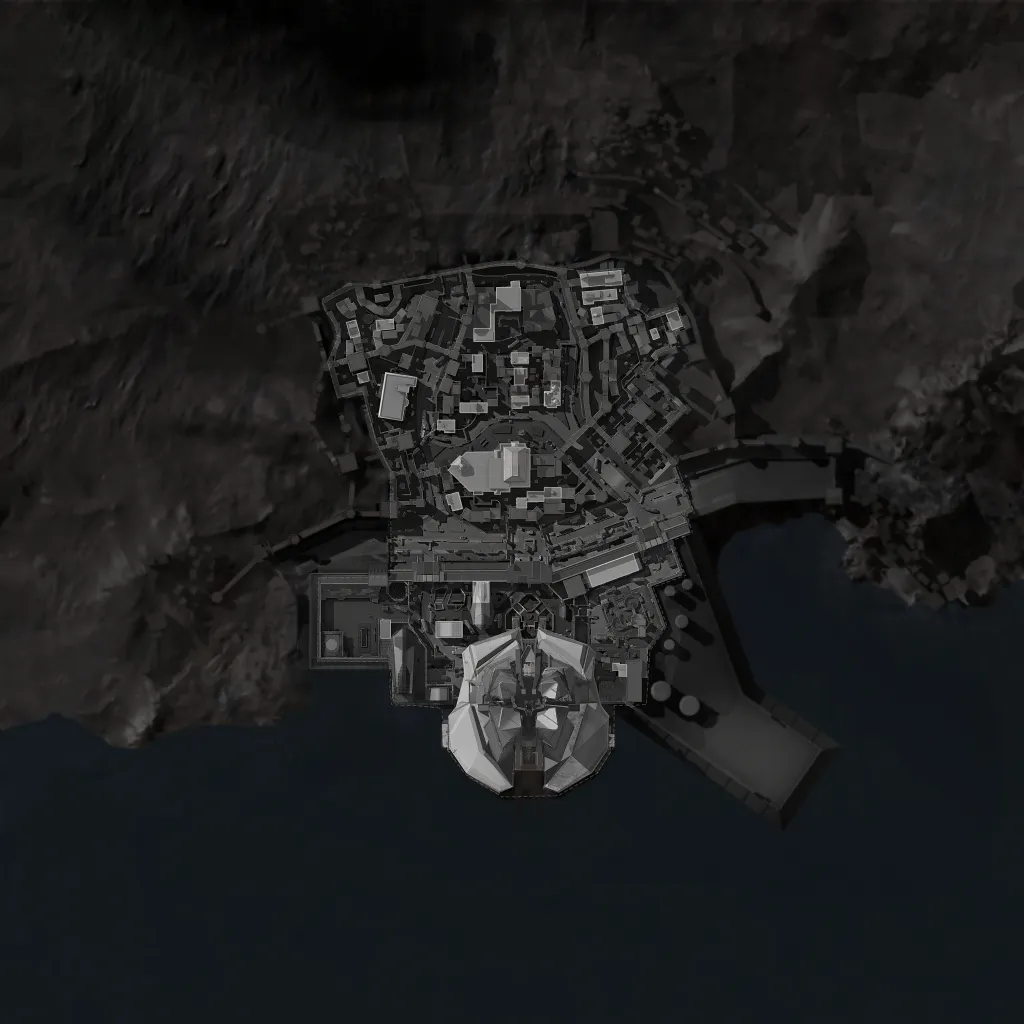
Tactical Observation Post
Zero Dam Spawn Points Registry (14 Verified Spawns)
Knowing your exact spawn point allows you to predict enemy push timings within the first 45 seconds of each raid.
| Spawn ID / Name | Sector Location | Coordinates | Early Push Risk | Tactical Recommendation |
|---|---|---|---|---|
| SPAWN | West side spawn. Watch for others. | [1234, 1982] | STANDARD PACE | Secure perimeter toolboxes and advance cautiously towards Turbine Hall. |
| SPAWN | West side spawn. Watch for others. | [1289, 1346] | STANDARD PACE | Secure perimeter toolboxes and advance cautiously towards Turbine Hall. |
| SPAWN | West side spawn. Watch for others. | [1352, 1132] | STANDARD PACE | Secure perimeter toolboxes and advance cautiously towards Turbine Hall. |
| SPAWN | West side spawn. Watch for others. | [1975, 1007] | STANDARD PACE | Secure perimeter toolboxes and advance cautiously towards Turbine Hall. |
| SPAWN | West side spawn. Watch for others. | [1933, 1248] | STANDARD PACE | Secure perimeter toolboxes and advance cautiously towards Turbine Hall. |
| SPAWN | West side spawn. Watch for others. | [1588, 1691] | STANDARD PACE | Secure perimeter toolboxes and advance cautiously towards Turbine Hall. |
| SPAWN | West side spawn. Watch for others. | [1804, 2080] | STANDARD PACE | Secure perimeter toolboxes and advance cautiously towards Turbine Hall. |
| SPAWN | East side spawn. Watch for others. | [2720, 1617] | STANDARD PACE | Secure perimeter toolboxes and advance cautiously towards Turbine Hall. |
| SPAWN | East side spawn. Watch for others. | [2743, 2468] | STANDARD PACE | Secure perimeter toolboxes and advance cautiously towards Turbine Hall. |
| SPAWN | East side spawn. Watch for others. | [3142, 1806] | STANDARD PACE | Secure perimeter toolboxes and advance cautiously towards Turbine Hall. |
| SPAWN | East side spawn. Watch for others. | [3446, 1660] | STANDARD PACE | Secure perimeter toolboxes and advance cautiously towards Turbine Hall. |
| SPAWN | East side spawn. Watch for others. | [3153, 2328] | STANDARD PACE | Secure perimeter toolboxes and advance cautiously towards Turbine Hall. |
| SPAWN | East side spawn. Watch for others. | [3627, 2319] | STANDARD PACE | Secure perimeter toolboxes and advance cautiously towards Turbine Hall. |
| SPAWN | East side spawn. Watch for others. | [3416, 2948] | STANDARD PACE | Secure perimeter toolboxes and advance cautiously towards Turbine Hall. |
Zero Dam Extraction Gates Matrix (10 Points)
Never get caught without an escape route. Plan around conditional flares and keycard requirements.
Industrial Elevator Extract. Available for everyone but only activates twice.
Flip this switch to open the Industrial Elevator.
Flip this switch to open the Industrial Elevator.
Pay 10,000 in-match currency to extract. Always open to all.
Randomly open. Green smoke signals it’s available.
Randomly open. Green smoke signals it’s available.
50kg limit (30kg on NORMAL). Always open to west side spawns.
No backpack needed. Always open for east side spawns.
Available at all times to east side spawns.
Available at all times to west side spawns.
Keycard Vaults & High-Value Locked Doors (12 Rooms)
High-tier keycards required to access secret server rooms, electronic lockboxes, and weapon lockers.
East Wing Manager's Office
Substation Tech Room
West Wing Control Room
West Wing Monitoring Room
Barracks Storage Room
Ticket Office
Equipment Collection Room
Cement Plant - Dormitory 201
Central VIP Room
Cement Plant Office
West Wing Infirmary
Substation Dormitory
Zero Dam Protocol Crates (D1–D6) & Cipher Puzzles
Classified tactical puzzle boxes containing high-grade barter items and cryptographic documents.
Secret Protocol Crate #D1: Use a ladder and platforms to reach scaffolding.
Secret Protocol Crate #D2: Finish tasks to open the door.
Secret Protocol Crate #D3: Open doors with morse and keycards to reach it.
Secret Protocol Crate #D4: Use morse code in barracks tunnels to unlock the door.
Secret Protocol Crate #D5: Use the bunker crawlspace to reach the locked door. The daily code is in "Cracked".
Secret Protocol Crate #D6: No puzzles necessary