Delta Force Tactical Maps & Field Cipher Decoders
Field reconnaissance sandbox for Delta Force extraction operations. Inspect high-definition satellite terrain, confirmed extraction gates, keycard vault rooms, and solve in-match safe codes using our real-time whiteboard cipher tool.
Delta Force operations feature both permanent extractions (always open) and conditional extractions (requiring flare guns, dog tags, or keycards). Electronic safe and door codes randomize per match instance via in-match whiteboard clues and radio morse signals, while classified Protocol Crates (D1–D6) follow fixed operational puzzles.
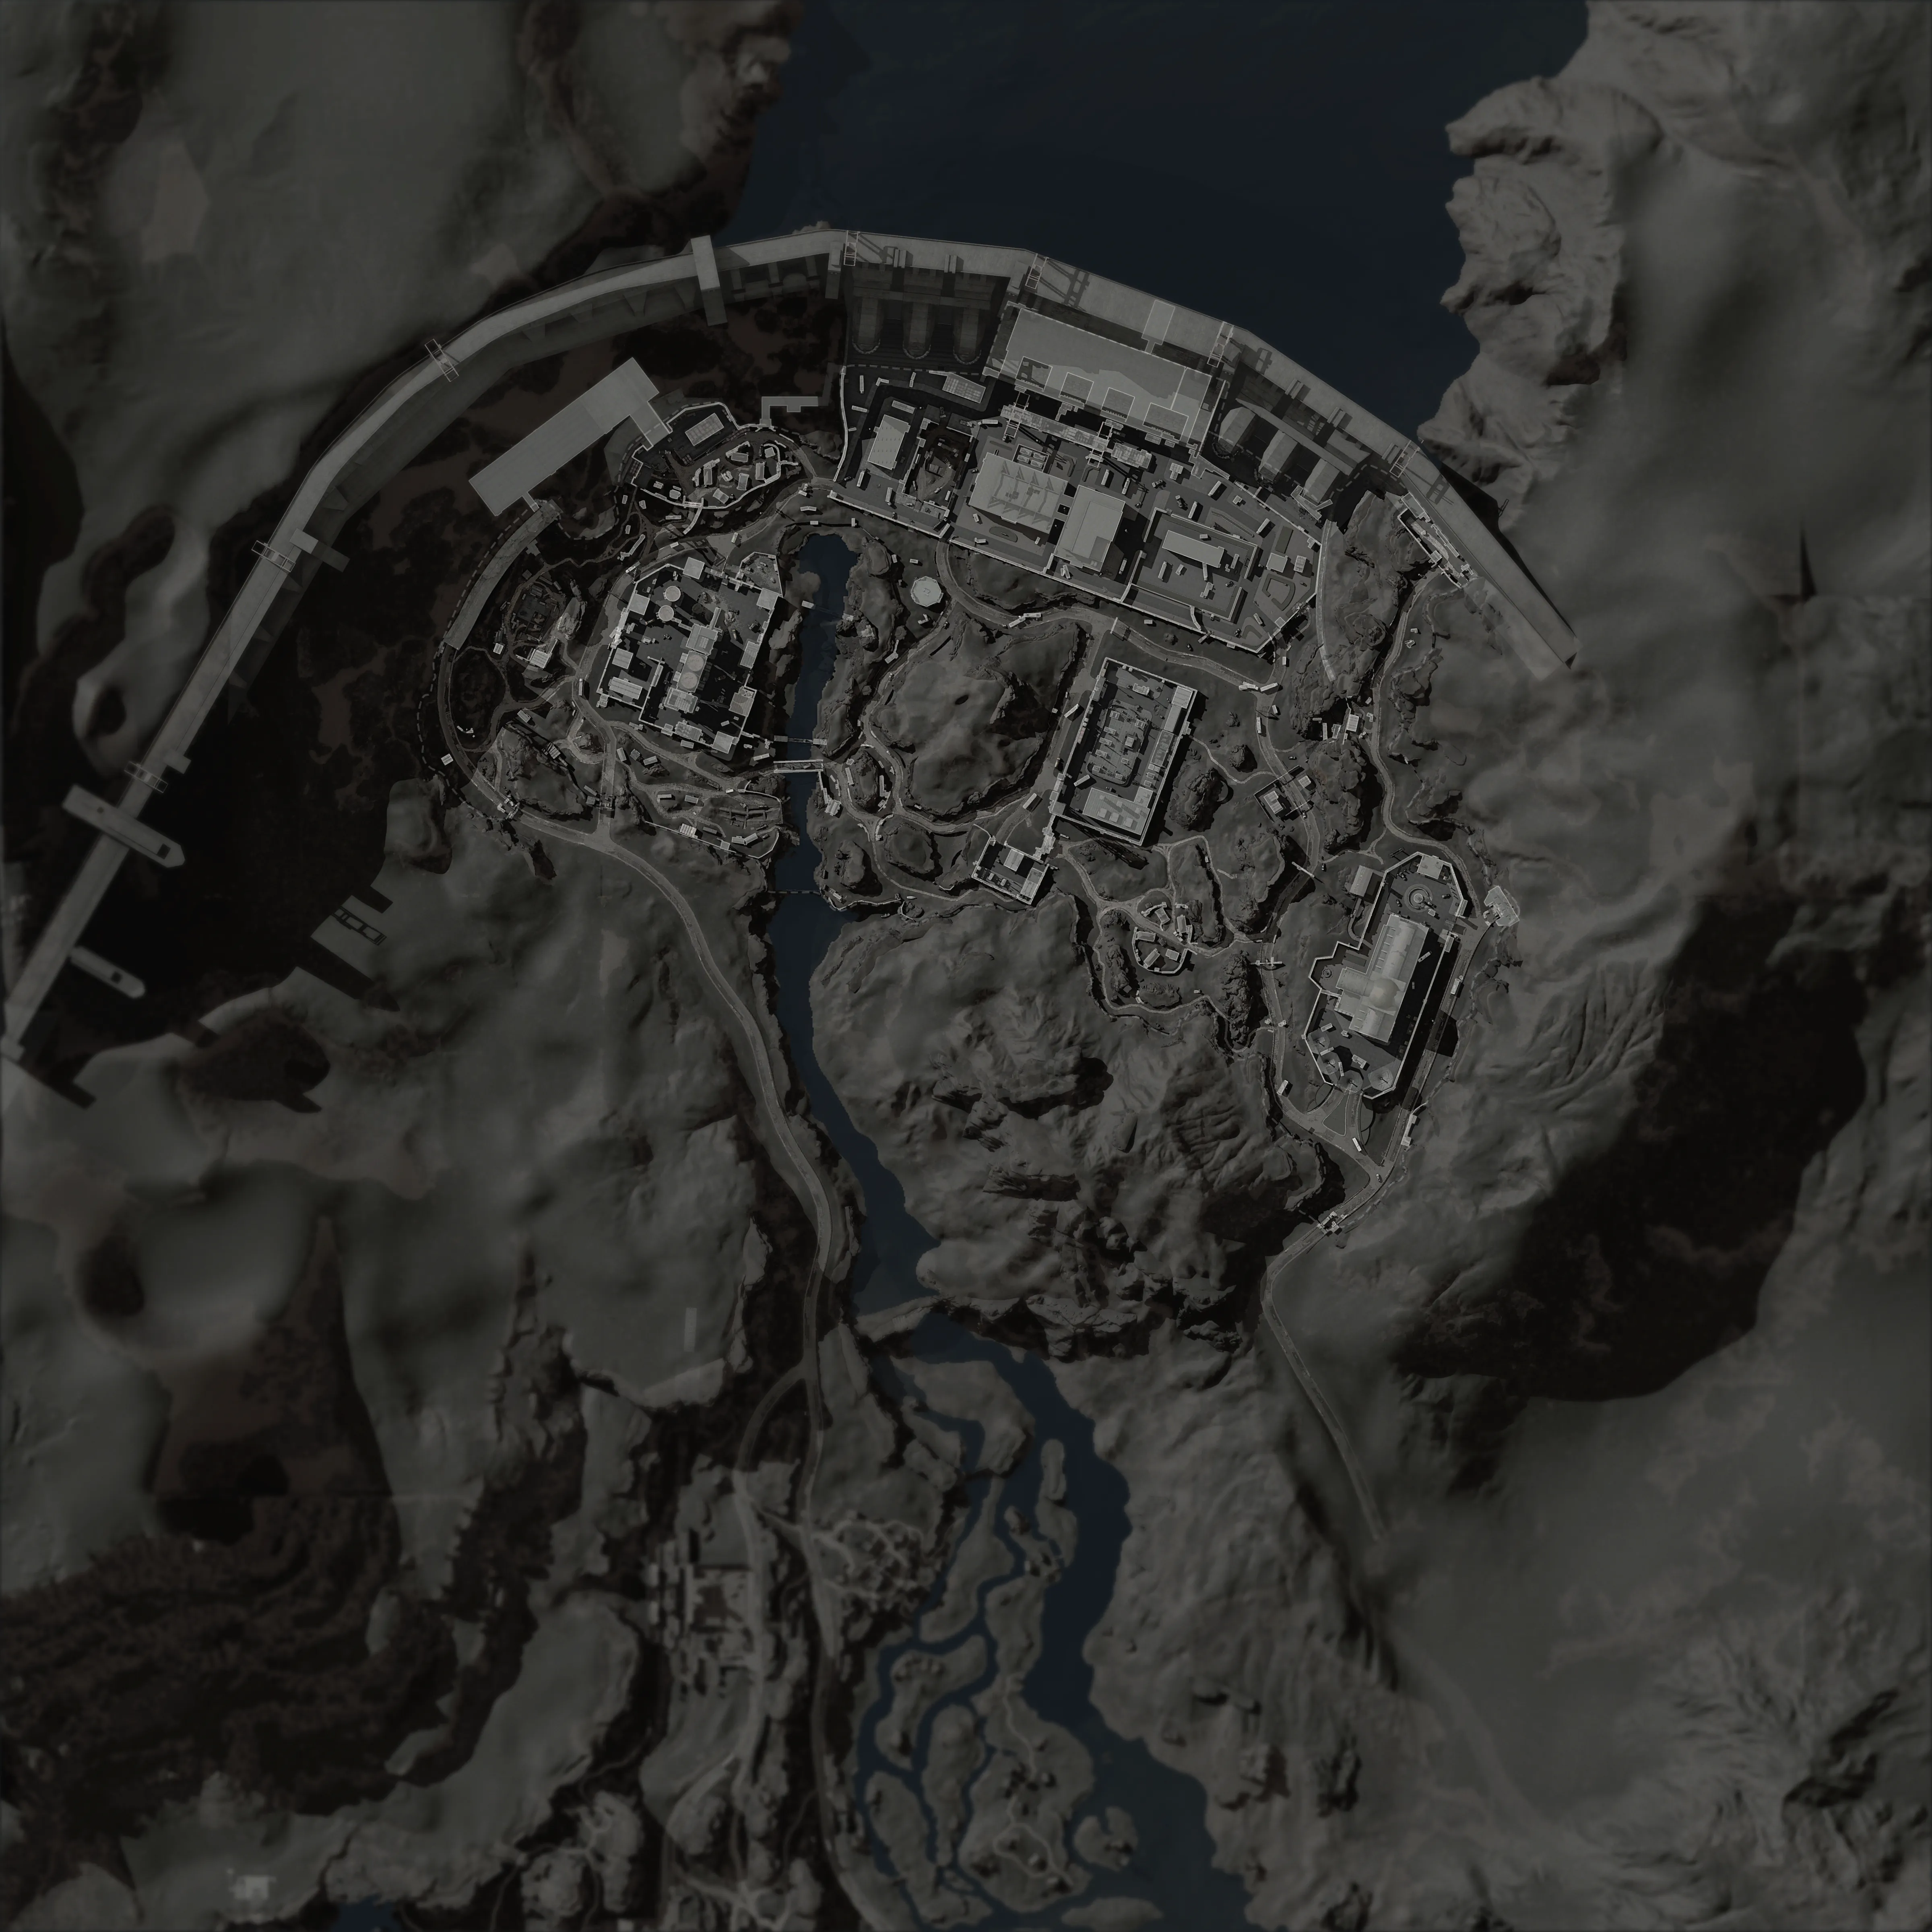
Zero Dam Interactive Tactical Map
Pan & zoom satellite sandbox. Drag to navigate, scroll to zoom into rooms, and click pins for tactical access intel.
East Wing Manager Office
In-Match Safe & Whiteboard Cipher Cracker
Safe codes randomize per match. Enter the partial numbers found on your raid's security whiteboard or audio morse beacon to calculate the 4th digit checksum instantly.
In Zero Dam and Layali Grove, guards write 3 numbers on office whiteboards (e.g. 4-9-9-? or 7-2-?-1). Enter your observed digits below:
Click any verified raid pattern to populate the calculator instantly:
Secret Protocol Crates Dossier (Zero Dam D1–D6)
Barracks Scaffolding Crate
Above Barracks Storage Roof
Substation Relay Chamber
Substation Basement B1
Subterranean Radio Vault
Central Dam Water Sluice
Barracks Drainage Tunnel
Western Spillway Conduit
Maintenance Crawlspace Cache
Cement Plant Mezzanine
Riverbank Emergency Stash
Southern River Spillway
Tactical Extraction Theater Overviews
Zero Dam
Industrial Dam & Hydroelectric Complex
- Dam Crest Spillway (Always Open)
- Sub-Turbine Maintenance Slide (Requires Key)
- Southern Helipad (Flare Gun Required)
Layali Grove
Sprawling Valley, Vineyards & Luxury Villas
- Resort West Checkpoint (Always Open)
- Radio Mast Ridge Ascender (Requires Cable Kit)
- Creek Suspension Bridge (Timed 15 min)
Space City
Subterranean Launch Complex & Rocket Silos
- Launch Gantry Escape Tube (Always Open)
- Core Elevator Shaft (Requires SZ3 Keycard)
- Sub-Basement Drainage Conduit
Brakkesh
Desert Fortress, Bazaar & Rail Freight Depot
- Old Train Station Terminal (Always Open)
- Bazaar Underground Aqueduct
- River Barge Evac (Requires 2 Dog Tags)
AZ3 Nuclear Plant
Irradiated Reactor Core & Cooling Towers
- Reactor Core Escape Pod (Radiation Suit Mandatory)
- Perimeter Cooling Canal
- Emergency Rail Tunnel (Requires SZ3 Red Key)
Frequently Asked Questions: Delta Force Maps & Door Codes
How do electronic door and safe codes work in Delta Force? ▾
In Delta Force: Hazard Operations, match safe codes randomize per instance. Clues appear on security office whiteboards or audio radio morse frequencies. Secret protocol crates (D1-D6) feature fixed puzzle mechanics such as parkour climbs, substation switches, and tunnel radios.
How do conditional extractions operate on Delta Force maps? ▾
Conditional extraction points require specific triggers, such as firing green flare guns at helipads, spending dog tags at barge checkpoints, having a keycard for sub-turbine slides, or operating a decontamination shower.