Delta Force SMG-45 Build Code: Meta CQC Loadout Guide
Delta Force SMG-45 best build guide: Warfare and Operations import codes, 11 Gunsmith attachments, .45 ACP AP ballistics, and CQC TTK stats.
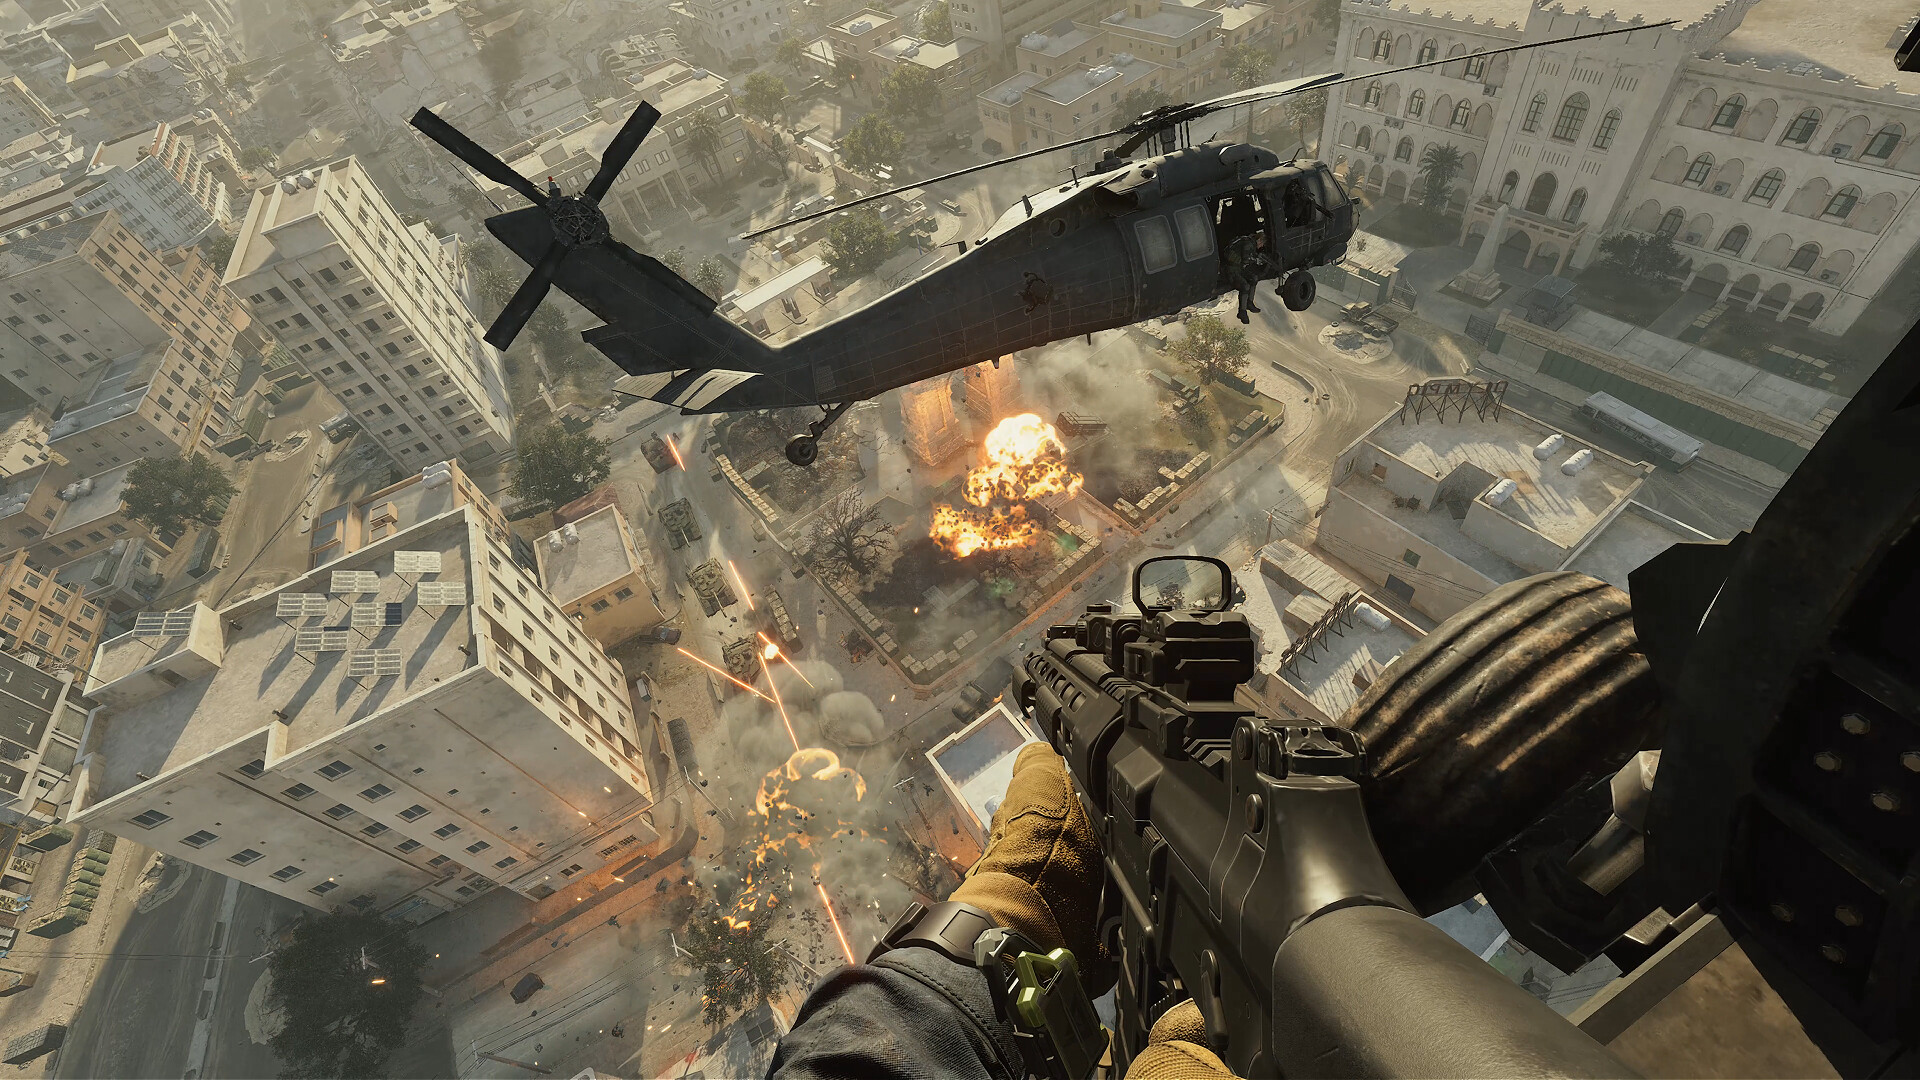
The SMG-45 dominates close-quarters combat with 35 base damage at 605 RPM: import code SMG-45 Submachine Gun-Warfare-6HLOBLC09MFFCME3G7LT2 for Havoc Warfare or SMG-45 Submachine Gun-Operations-6HLOBNC09MFFCME3G7LT2 for suppressed Hazard Operations extraction runs.
The SMG-45 stands at the apex of close-quarters combat (CQC) in Delta Force Season Reorientation. Chambered in heavy .45 ACP ammunition, it redefines the role of submachine guns by trading hyper-fast cyclic fire rates for devastating per-bullet stopping power.
While assault rifles like the K416 and M4A1 require longer sprint-to-fire transitions and suffer from aim-down-sights penalties in tight corners, the calibrated SMG-45 snaps onto target instantaneously. In high-density indoor hotzones like Space City Server Stack Alpha or the Zero Dam Turbine Hall, this weapon provides the decisive advantage needed to clear rooms and secure extractions.
One-Click Gunsmith Import Codes
Skip manual attachment assembly. Copy the patch-verified Gunsmith import strings below to configure your modification bench immediately:
SMG-45 Submachine Gun-Warfare-6HLOBLC09MFFCME3G7LT2
SMG-45 Submachine Gun-Operations-6HLOBNC09MFFCME3G7LT2
Alternative Tactical Presets
- Primary Warfare CQC Aggressor (
6HLOBLC09MFFCME3G7LT2): Calibrated for maximum hip-fire accuracy and continuous sprint recovery during close-quarters point captures. - Hazard Operations Stealth Extraction (
6HLOBNC09MFFCME3G7LT2): Integrates tactical sound suppression and lightweight skeletal furniture for rapid flank rotations. - Extreme Mobility Pointman (
6HLOBLC09MFFCQB3G7LT2): Maximizes aim-down-sights velocity and lateral strafe speed for aggressive room clearance.
Attachment Blueprint & Slot Configuration
To understand why this setup dominates CQB, review the precise eleven-component synergy engineered for this weapon platform:
| Slot | Chosen Attachment | Tactical Function | In-Game Attribute Impact |
|---|---|---|---|
| Muzzle | Tactical Ti-Rant Silencer | Lowers acoustic report to stealth radius & hides flash | Substantial sound suppression and steady recoil |
| Barrel | SMG Extended Precision Barrel | Elevates muzzle velocity to 500 m/s & extends damage reach | Extends damage range and flattens trajectory |
| Optic | Cobra Compact Red Dot | Ultra-clean circular reticle for zero peripheral obstruction | Eliminates frame clutter and speeds target acquisition |
| Laser | DBAL-A2 Tactical IR Flashlight | Enhances hip-fire accuracy without visible beam in daylight | Drastically tightens hip-fire spread cone |
| Foregrip | Skeletonized Ergonomic Foregrip | Reduces horizontal recoil bounce during full-auto spray | Superior horizontal stabilization and handling |
| Magazine | SMG-45 35-Round High-Cap Mag | Expands base capacity from 25 to 35 rounds | Plus 10 rounds for multi-target room clearance |
| Stock | Precision Folding Stock | Maximizes aimed walk speed and tightens recoil recovery | Boosts aim walking speed and stability |
| Pistol Grip | Rubberized Stippled Grip | Eliminates initial shot kick and improves weapon handling | Enhances weapon draw speed and handling |
| Gas Block | Lightweight Recoil Buffer | Dampens bolt carrier bounce on sustained automatic bursts | Smooths cyclic recoil action |
| Rail Guards | M-LOK High-Traction Rail Covers | Protects grip consistency during slide-to-aim maneuvers | Dampens weapon sway during tactical movement |
| Charging Handle | Ambidextrous Tactical Catch | Accelerates tactical reload cycling | Speeds chamber clearing on tactical reloads |
Ballistic Damage Profile & Time-to-Kill (TTK)
The defining advantage of the SMG-45 is its massive 35-damage baseline. Below is the verified damage output when engaging targets across varying armor tiers:
| Distance | Unarmored (100 HP) | Level 2 Armor | Level 4 Armor | Level 5 Body Armor | Headshot Advantage |
|---|---|---|---|---|---|
| 0m - 15m | 3 shots to eliminate | 4 shots to eliminate | 5 shots to eliminate | 6 shots to eliminate | Decisive 2-shot elimination |
| 16m - 25m | 4 shots to eliminate | 5 shots to eliminate | 6 shots to eliminate | 7 shots to eliminate | Decisive 3-shot elimination |
| 26m - 40m | 5 shots to eliminate | 6 shots to eliminate | 7 shots to eliminate | 9 shots to eliminate | High headshot multiplier |
| 40m+ | 6 shots to eliminate | 7 shots to eliminate | 8 shots to eliminate | Extended burst required | Reduced damage efficiency |
Calculated based on 605 RPM cyclic rate with .45 ACP AP ammunition. Upper chest hit verification.
Ammunition Caliber Analysis: AP vs FMJ vs RIP
Selecting the right bullet in Delta Force Hazard Operations determines your survival rate:
- .45 ACP AP (Armor Piercing - Recommended):
- Penetration Level: Level 5
- Damage Multiplier: 0.85x baseline raw, but maintains an Armor Damage Multiplier of 1.1x against Level 1 through Level 6 plates.
- Verdict: Indispensable for Hazard Operations. Even against fully armored squad leaders wearing Level 5 purple armor, every round punches through without glancing deflections.
- .45 ACP FMJ (Full Metal Jacket):
- Penetration Level: Level 3
- Damage Multiplier: Standard military rating unpenalized.
- Verdict: Ideal budget bullet for standard Bot clearing and budget Zero Dam raids. Struggles significantly against Level 5 and Level 6 plates.
- .45 ACP RIP / Hollow Point:
- Penetration Level: Level 0 (Zero Armor Pen)
- Limb Damage Multiplier: Elevated flesh damage rating.
- Verdict: The ultimate leg-meta bullet. If you train yourself to aim for knees and shins, rapid impacts will neutralize any operator regardless of whether they are wearing Level 6 armor, as limb hits bypass chest vests entirely.
Practical Gunplay & Tactical Strategy
1. The Pre-Aim Slide Advantage
Because the SMG-45 possesses superior ergonomics (handling rating: 70), your sprint-to-fire transition is nearly instantaneous. When pushing doorways, sprint, initiate a knee-slide, and pre-fire right into center-mass. The opening rounds will consistently land within a tight grouping before vertical recoil begins to climb.
2. Micro-Bursting at 25 Meters
Do not hold down the trigger at ranges past 25 meters. The heavy bolt carrier creates noticeable visual bounce on automatic fire. Tap-fire in short bursts to reset barrel alignment; each burst will cluster tightly into the neck and collarbone area.
3. Pairing with a Designated Marksman Rifle
Never run the SMG-45 as a solo primary if you intend to traverse outdoor valleys in Layali Grove or Brakkesh. Pair this platform with a scoped M14 DMR or CI-19 in your secondary sling, allowing you to dominate long sniper lanes before swapping to the SMG-45 to sweep building objectives.
Discover additional gunsmith builds in our Tactical Loadout Vault or review full operator pairings in the Operator Tier List.
Frequently Asked Questions
What makes the SMG-45 the top close-quarters submachine gun?
The SMG-45 delivers a class-leading 35 damage per shot to the upper torso up to 15 meters. Combined with ultra-fast aim-down-sights transitions and minimal horizontal sway, it eliminates targets faster than 5.56mm assault rifles in tight interior spaces.
How do I import this SMG-45 Gunsmith code in-game?
Navigate to the Weapons tab in Delta Force, select the SMG-45, click the Gunsmith modification button, select 'Share / Import' in the bottom-right menu, paste the code string, and click Apply to instantly slot all 11 calibrated attachments.
Which ammunition should I use with the SMG-45 in Hazard Operations?
Run .45 ACP AP (Armor Piercing) rounds. They provide Level 5 penetration with an armor damage multiplier of 1.1x across all body armor tiers, tearing through purple and gold armored operators in 3 to 4 chest impacts.