Delta Force Operators: Classes, Gadgets and Tier Guide
Comprehensive guide to all 16 Delta Force operators across Assault, Support, Engineer, and Recon classes, including unique tactical gadgets and meta synergies.
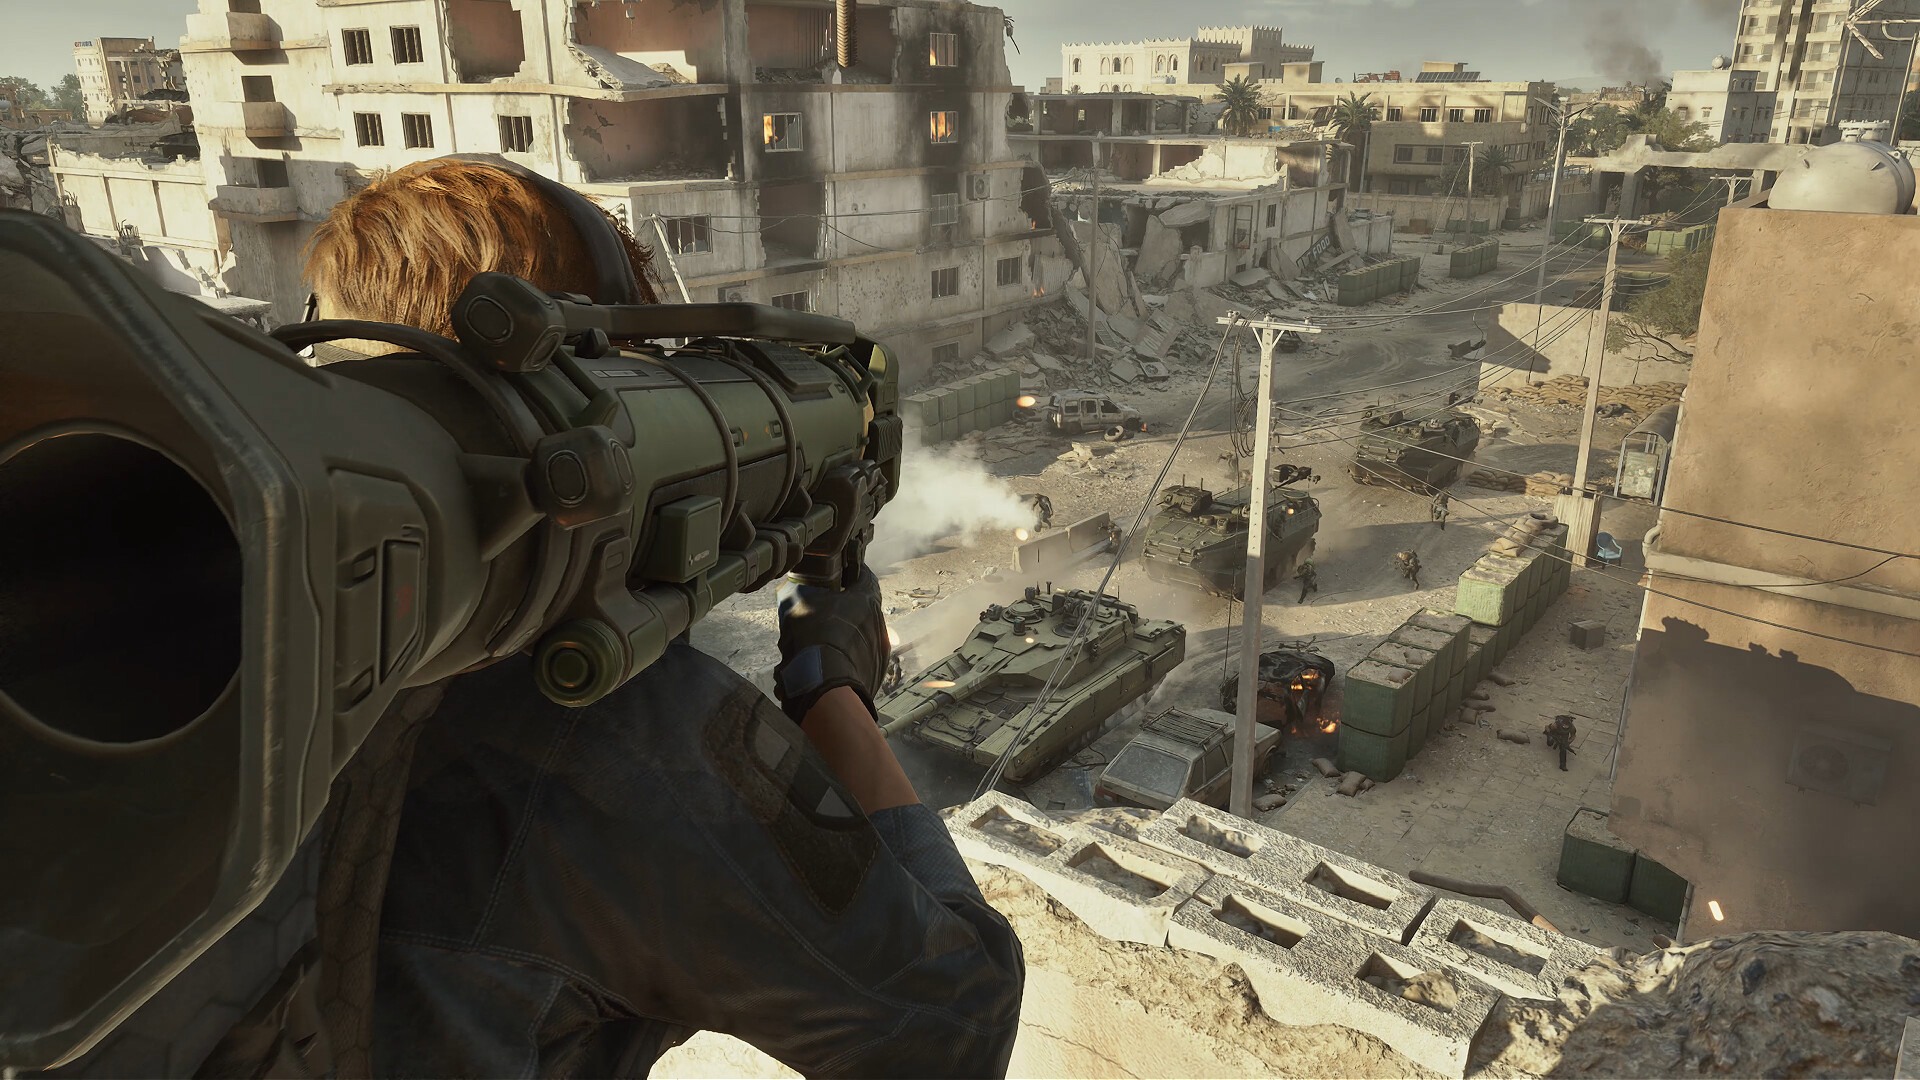
Delta Force features 16 operators distributed across four specialized classes: Assault (breaching and speed), Support (healing and resupply), Engineer (anti-vehicle and fortifications), and Recon (intel gathering and spawn beacons).
Delta Force tactical combat revolves around a roster of 16 specialized operators divided across four distinct combat doctrines. In Season Reorientation, player survival and objective dominance rely not merely on gunplay, but on coordinating class gadgets, passive abilities, and squad synergies across both combined-arms Havoc Warfare and high-stakes Hazard Operations extraction raids.
The Four Operator Classes & Combat Doctrines
Every operator belongs to one of four specialized tactical military branches:
- Assault Class (Mobility & Breaching): The spearhead of frontline assaults. Equipped with high-mobility motorized exoskeletons, tactical slide mechanics, and rapid-entry breach charges, Assault operators specialize in fracturing enemy defensive perimeters, room clearing, and winning high-intensity close-quarters duels.
- Support Class (Sustain & Zone Control): The backbone of prolonged squad engagements. Carrying an inventory of three tactical gadgets (Medical Crates, Munition Ammo Boxes, and Smoke Launchers), Support operators replenish depleted body armor durability, revive fallen teammates under smoke cover, and establish impenetrable defensive bunkers.
- Engineer Class (Anti-Armor & Fortification): The ultimate combined-arms countermeasure. Engineers field Anti-Vehicle Rocket Launchers capable of disabling main battle tanks and infantry fighting vehicles (IFVs). Their handheld repair tools restore damaged squad vehicles and repair structural choke points.
- Recon Class (Intelligence & Infiltration): Master information brokers. Recon operators deploy high-altitude thermal surveillance drones, motion-detecting sonic arrows, and covert Spawn Beacons. By intercepting enemy communication chatter and revealing positions through walls, Recon units dictate the flow of engagement.
Definitive Season Reorientation Operator Tier Rankings
Our tier rankings evaluate operator combat effectiveness based on tactical versatility, solo survivability, objective control, and gadget cooldown economics across high-tier competitive lobbies:
S-Tier: Indispensable Meta Pillars
- D-Wolf (Assault): Equipped with a motorized triple-dash exoskeleton and explosive breach charges, D-Wolf is the premier entry fragger. His ability to instantly close distance, disorient enemies behind reinforced doorways, and reposition after securing an elimination makes him mandatory for fast-paced objective pushes.
- Stinger (Support): Features autonomous target-seeking healing drones that administer remote medical restoration to teammates through walls. Paired with triple smoke canister barrages, Stinger creates instant visual cover, enabling safe revives and Mandelbrick extraction defense.
- Hackclaw (Recon): Fields directional signal decoys and tracking arrows that outline enemy skeletons in bright thermal highlights. Hackclaw completely neutralizes room campers and ambush squads, giving your fireteam decisive pre-fire advantage.
- Shepherd (Engineer): Dominates vehicle-heavy maps with his EMP resonance wave and sonic area-denial barrier. A single well-placed sonic charge disables approaching armored vehicles and scrambles enemy HUD crosshairs, turning the tide in Havoc Warfare capture points.
A-Tier: High-Impact Tactical Specialists
- Luna (Recon): Wields a composite detection bow that paints enemy squads across wide outdoor sectors. Her tracking arrows reveal rotation paths in Layali Grove, though she requires vigilant flanking protection from assault teammates.
- Uluru (Engineer): Specializes in loitering guided munitions and deployable ballistic blast shields. Uluru can single-handedly hold bridge crossings and choke points against advancing infantry columns.
- Nox (Assault): Possesses silent step movement and high-velocity tactical sliding. In tight urban interiors like Brakkesh, Nox slips behind enemy squads undetected to execute devastating flanking sweeps.
- Vlinder (Support): Focuses on combat stim deployment and rapid armor plate distribution. While lacking Stinger’s autonomous drone range, Vlinder accelerates squad movement speed and sprint-to-fire responsiveness during aggressive site breaches.
B-Tier: Situational & High-Skill Specialists
- Gizmo (Engineer): Robust anti-vehicle ordinance, though his longer launcher reload cycles demand strict cover coordination.
- Sineva (Engineer): Heavy fortification specialist who excels in confined bunker defense but suffers mobility penalties on expansive open-field terrain.
- Toxik (Support): Area-denial gas canisters that force enemies out of enclosed rooms, though friendly visibility disruption requires disciplined placement.
- Branko (Support): Heavy weapons gunner with enhanced LMG recoil stability, perfect for continuous suppressive fire but vulnerable to high-mobility flankers.
- Morse (Recon): Long-range sniper specialist with deployable radar tripwires, thriving on high vantage points but struggling in close-quarters building breaches.
- Raptor (Recon): Tactical drone operator whose manual drone piloting leaves his operator body stationary and exposed to counter-sniper fire.
- Tempest (Assault): High-speed breacher whose kinetic shockwave requires precise point-blank timing to yield maximum disorientation.
- Vyron (Assault): Aggressive breacher whose heavy shield provides frontal defense at the cost of hip-fire weapon accuracy.
Full 16-Operator Cross-Reference Matrix
Below is the verified full 16-operator registry with official class roles, gadget inventories, signature passive capabilities, recommended weapon classes, and tier placements:
| Operator Name | Combat Class | Primary Tactical Gadgets | Signature Passive Trait | Weapon Specialization | Meta Tier |
|---|---|---|---|---|---|
| D-Wolf | Assault | Breach Charge, Smoke Launcher | Motorized Kinetic Sprint Dash | RIFLE, SMG, SHOTGUN | S |
| Stinger | Support | Smoke Launcher, Ammo Box, Med Crate | Autonomous Target-Seeking Healing Hive | RIFLE, LMG, SMG | S |
| Hackclaw | Recon | Recon Drone, Spawn Beacon | Directional Signal Decoy & Wall Outline | MARKSMAN, SNIPER, SMG | S |
| Shepherd | Engineer | Anti-Vehicle Launcher, Repair Tool | Sonic Shockwave & Vehicle EMP Blast | RIFLE, LMG, MARKSMAN | S |
| Luna | Recon | Recon Drone, Spawn Beacon | Thermal Detection Arrow Tagging | MARKSMAN, SNIPER, SMG | A |
| Uluru | Engineer | Anti-Vehicle Launcher, Repair Tool | Deployable Ballistic Blast Barricade | RIFLE, LMG, MARKSMAN | A |
| Nox | Assault | Breach Charge, Smoke Launcher | Silent Footstep Dampening & Extended Slide | RIFLE, SMG, SHOTGUN | A |
| Vlinder | Support | Ammo Box, Med Crate, Smoke Launcher | Rapid Armor Repair & Adrenaline Stim | RIFLE, LMG, SMG | A |
| Gizmo | Engineer | Anti-Vehicle Launcher, Repair Tool | Reinforced Vehicle Hull Field Welding | RIFLE, LMG, MARKSMAN | B |
| Sineva | Engineer | Anti-Vehicle Launcher, Repair Tool | Fortified Heavy Trench Shielding | RIFLE, LMG, MARKSMAN | B |
| Toxik | Support | Smoke Launcher, Ammo Box, Med Crate | Caustic Area-Denial Gas Canisters | RIFLE, LMG, SMG | B |
| Branko | Support | Ammo Box, Med Crate, Smoke Launcher | Sustained LMG Bipod Recoil Dampening | RIFLE, LMG, SMG | B |
| Morse | Recon | Recon Drone, Spawn Beacon | Perimeter Motion Sensor Radar Array | MARKSMAN, SNIPER, SMG | B |
| Raptor | Recon | Recon Drone, Spawn Beacon | High-Altitude Autonomous Thermal Scan | MARKSMAN, SNIPER, SMG | B |
| Tempest | Assault | Breach Charge, Smoke Launcher | Kinetic Concussion Shockwave Blast | RIFLE, SMG, SHOTGUN | B |
| Vyron | Assault | Breach Charge, Smoke Launcher | Frontal Ballistic Riot Shield Push | RIFLE, SMG, SHOTGUN | B |
Tactical Gadget Mechanics & Cooldown Management
Understanding how tactical gadgets function and refresh during intense gunfights is essential for squad coordination:
| Gadget Category | Deployed Devices | Standard Cooldown | Tactical Usage & Reload Rules |
|---|---|---|---|
| Breach Explosive | Directional C4 Charge | 45 Seconds | Blows through reinforced wooden/concrete walls; disorients occupants within a 6-meter blast radius. |
| Smoke Screen | Triple Canister Launcher | 30 Seconds | Blocks visual line-of-sight and breaks thermal scope tracking; essential for covering down teammates. |
| Medical Crate | Nanite Health Dispenser | 25 Seconds | Heals 15 HP per second to all nearby allies within 4 meters; cures active bleed and limb fracture statuses. |
| Ammo & Armor Box | Munition Supply Crate | 35 Seconds | Replenishes two primary magazines and provides one composite armor plate repair kit per teammate interaction. |
| Anti-Vehicle Missile | Wire-Guided Rocket | 50 Seconds | Deals heavy vehicle hull damage; hits engine blocks or tank tracks to inflict immediate mobility kill. |
| Spawn Beacon | Clandestine Radio Relay | 90 Seconds | Establishes a covert team redeployment coordinate; emits a faint acoustic hum that enemies can locate and destroy. |
Winning Squad Compositions & Meta Synergies
Building a complementary three-operator fireteam drastically increases extraction success rates in Hazard Operations:
1. The High-Stakes Extraction Triad (D-Wolf + Stinger + Hackclaw)
- Execution: Hackclaw deploys detection sensors ahead of building entries to identify interior defense formations. D-Wolf leads the breach using his kinetic dash and breach charges to eliminate disoriented targets. Stinger follows immediately behind, deploying medical hives and screening extraction points with continuous smoke barrages while securing Mandelbricks.
2. The Combined-Arms Heavy Bastion (Shepherd + Uluru + Vlinder)
- Execution: Specifically tuned for large-scale Havoc Warfare capture points. Shepherd and Uluru establish interlocking fields of anti-vehicle fire with deployable barricades and EMP resonance pulses, preventing enemy tanks from contesting capture points. Vlinder maintains constant squad armor durability and distributes ammunition replenishment.
3. The Long-Range Information & Overwatch Cell (Luna + Morse + Nox)
- Execution: Tailored for expansive environments like Layali Grove. Luna and Morse secure high ridge vantage points, painting enemy movement vectors across the river valley. When hostile squads push to investigate, Nox utilizes silent footsteps to execute stealth flanking strikes from the riverbed below.
Map-by-Map Operator Deployment Strategies
- Zero Dam (Close Quarters & Interior Corridors): Prioritize D-Wolf and Stinger. The narrow concrete corridors of the Administrative Building and Dam Core require rapid room breaching and dense smoke concealment to bypass sniper-held catwalks.
- Layali Grove (Open Woodlands & Hillside Estates): Prioritize Luna and Hackclaw. The sprawling willow groves and heavy foliage obscure enemy squads, making thermal detection arrows and reconnaissance drones crucial for spotting ambushes before crossing open waterways.
- Brakkesh (Urban Alleys & Multi-Story Bazaars): Prioritize Nox and Shepherd. Multi-level stairwells and tight alleyways provide optimal avenues for silent flanking maneuvers, while sonic EMP waves prevent light armored vehicles from locking down city intersections.
For weapon calibrations tailored to each operator, review our verified weapon builds:
- K416 Meta Warfare Build
- M4A1 Laser Recoil Guide
- CAR-15 High-Mobility Carbine
- AKS-74 Budget Extraction Build
- CI-19 High-Stopping Rifle
Explore full interactive theater locations on our Zero Dam Interactive Map or test your aim conversion with our Mouse Sensitivity Converter.
Frequently Asked Questions
How are operators structured in Delta Force?
Operators are categorized into four specialized combat roles: Assault, Support, Engineer, and Recon. Each class brings unique tactical gadgets and class-specific weapon proficiencies tailored for squad combat.
Which Delta Force operator class has the most gadgets?
Support operators carry 3 tactical gadgets (Ammo Box, Med Crate, Smoke Launcher), whereas Assault, Engineer, and Recon classes carry 2 specialized tactical devices.
Do operators have class-recommended weapon proficiencies?
Yes. Assault units prioritize Rifles and SMGs; Support focuses on LMGs and sustained fire platforms; Engineers deploy heavy ordnance and mid-range rifles; Recon excels with high-caliber Marksman and Sniper rifles.