Delta Force M14 Build Code: Long-Range DMR Loadout Guide
Delta Force M14 best build guide: verified Warfare and Operations Gunsmith codes, 11 attachments, 7.62x51mm AP ballistics, and two-tap DMR tuning.
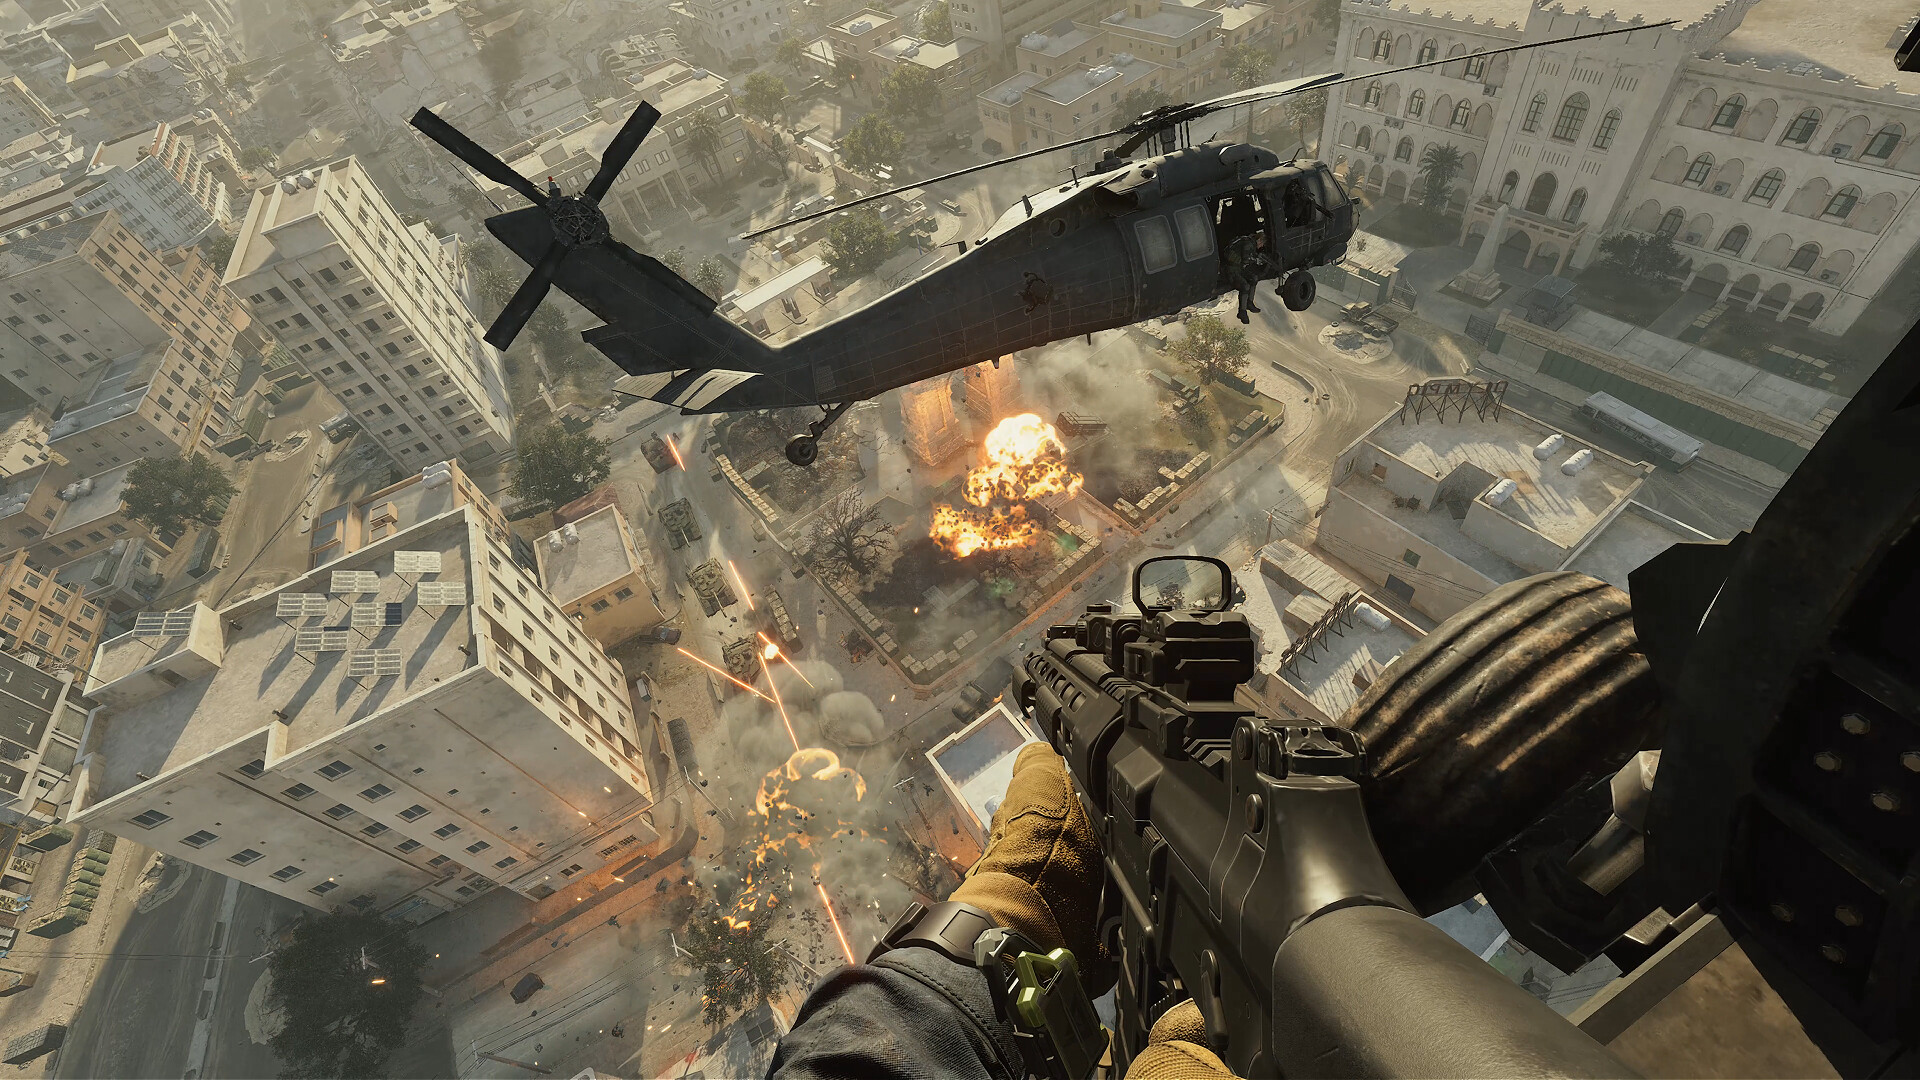
The M14 DMR dominates medium and long-range engagements with 68 base damage: import code M14 Marksman Rifle-Warfare-6HLOC0G09MFFCME3G7LT2 for Havoc Warfare or M14 Marksman Rifle-Operations-6HLOC1C09MFFCME3G7LT2 for suppressed Hazard Operations extraction raids.
The M14 designated marksman rifle (DMR) serves as the ultimate tactical equalizer in Delta Force Season Reorientation. Chambered in battle-proven 7.62x51mm NATO full-power cartridges, this semi-automatic platform bridges the tactical gap between full-auto assault rifles and cumbersome bolt-action sniper systems.
In open tactical theaters like the vineyard hills of Layali Grove or the long arterial bridges of Zero Dam, standard 5.56 assault rifles experience severe ballistic drop and damage decay beyond 60 meters. The M14 eliminates this deficit, maintaining 68 damage per torso impact out to 75 meters, giving patient marksmen the firepower to down heavily armored hostiles in two decisive trigger pulls.
One-Click Gunsmith Import Codes
Equip the optimal recoil-dampened configuration immediately. Copy the verified Gunsmith import strings below into your game client:
M14 Marksman Rifle-Warfare-6HLOC0G09MFFCME3G7LT2
M14 Marksman Rifle-Operations-6HLOC1C09MFFCME3G7LT2
Alternative Tactical Presets
- Primary Warfare Heavy Suppression (
6HLOC0G09MFFCME3G7LT2): Configured for continuous eighty-meter lane dominance with balanced vertical kick and muzzle stability. - Hazard Operations Long-Range Scout (
6HLOC1C09MFFCME3G7LT2): Heavy tactical silencer and variable prism optic for eliminating patrolling sentries at distance. - Aggressive Battle Rifle DMR (
6HLOC0G09MFFCQB3G7LT2): Lightweight polymer stock and compact prism optic for reactive mid-range counter-sniping.
Attachment Blueprint & Slot Configuration
Taming the heavy 7.62x51mm upward climb requires targeted stabilization parts across all eleven modification slots:
| Slot | Chosen Attachment | Tactical Function | In-Game Attribute Impact |
|---|---|---|---|
| Muzzle | Sandstorm Vertical Compensator | Drastically flattens vertical barrel climb on rapid follow-up shots | Significant vertical recoil reduction and stability |
| Barrel | Precision Match 22-Inch Barrel | Increases bullet velocity and flattens trajectory curve | Substantially extends effective range and bullet velocity |
| Optic | Vortex LPVO Tactical Scope | Dual-magnification optic with crisp mil-dot elevation holdovers | Range clarity enhancement with variable tactical zoom |
| Bipod | Tactical Heavy Sniper Bipod | Eliminates sway completely when mounted on window sills or rocks | Drastic prone recoil and idle sway reduction |
| Magazine | M14 Extended 30-Round Mag | Increases capacity from base 20 to 30 continuous rounds | Expands magazine capacity for extended squad suppression |
| Pistol Grip | Ergonomic Competition Grip | Improves weapon handling and steady aim transition | Notable handling enhancement and faster ADS speed |
| Stock | Precision DMR Adjustable Stock | Mitigates visual weapon kick during sustained semi-auto fire | Accelerated recoil recovery and stability |
| Gas Block | Heavy Adjustable Gas Piston | Optimizes chamber cycling pressure for consistent shot timing | Reduces follow-up shot dispersion noticeably |
| Laser | Tactical PEQ Infrared Laser | Provides instant crosshair indexing when moving through interiors | Tightens hip-fire spread cone in close quarters |
| Recoil Pad | Ranger Combat Rubber Pad | Absorbs heavy shoulder recoil impulses | Increases flinch resistance during incoming fire |
| Handguard | Full-Length Rigid Aluminum Rail | Prevents barrel harmonic distortion during rapid firing | Maximizes attachment rigidity and precision |
Ballistic Damage Profile & Time-to-Kill (TTK)
Thanks to its heavy 68-damage base profile, the M14 features one of the most oppressive damage models in modern tactical shooters:
| Engagement Range | Headshot Damage | Upper Torso (Chest) | Lower Torso (Abdomen) | Arm & Leg Impact | Bullets to Kill (Level 4 Armor) |
|---|---|---|---|---|---|
| 0m - 50m | 136 Damage (Instant Knock) | 68 Damage | 54 Damage | 47 Damage | 2 Shots (Chest) |
| 51m - 80m | 122 Damage (Instant Knock) | 61 Damage | 49 Damage | 42 Damage | 2 Shots (Chest) |
| 81m - 120m | 108 Damage | 54 Damage | 43 Damage | 37 Damage | 3 Shots (Chest) |
| 120m+ | 95 Damage | 47 Damage | 37 Damage | 32 Damage | 3 to 4 Shots |
Evaluated with 7.62x51mm Armor-Piercing cartridges against standard 100 HP plus armor durability values.
Ammunition Caliber Breakdown: M993 vs M61 vs M80
In Delta Force, 7.62x51mm cartridges represent the gold standard of armor-piercing capabilities:
- 7.62x51mm M993 AP (S-Tier / Raid Meta):
- Penetration Level: Level 6
- Armor Damage: Maximum armor damage tier.
- Analysis: The ultimate endgame bullet. Pierces through Level 5 and Level 6 purple/gold body shields without deflection. Guarantees a two-shot chest elimination at any range under 80 meters.
- 7.62x51mm M61 (A-Tier / Balanced Choice):
- Penetration Level: Level 5
- Armor Damage: High armor damage tier.
- Analysis: Excellent performance for standard extraction patrols. Easily dismantles Level 4 armor rigs and costs half as much on the auction house as M993 rounds.
- 7.62x51mm M80 (B-Tier / Budget Farmer):
- Penetration Level: Level 4
- Armor Damage: Standard military rating.
- Analysis: Budget-friendly round for bot farming and low-risk Zero Dam loot runs. Requires three shots against Level 5 armored players.
Tactical Deployment & Firing Disciplines
1. Mounting Mechanics on High Ground
When defending capture flags in Havoc Warfare or scanning hillside villa roads in Layali Grove, always position behind waist-high barriers. Deploying the M14’s bipod drops horizontal and vertical recoil by a staggering margin, enabling you to rapid-fire at full 450 RPM semi-auto with zero reticle bounce.
2. The Double-Tap Cadence
Do not spam the trigger as fast as your finger allows at ranges past 60 meters. Instead, practice a rhythmic cadence: pull the trigger, allow the reticle to settle back into the target’s chest, then fire the second round. Both rounds will strike within a hand’s width, eliminating the target before they can dive behind cover.
3. Evading Snipers with Offset Red Dots
Bolt-action sniper rifles take over a full second between shots. If an opposing sniper misses their opening round, you have an immense temporal window. Snap to the target with the M14 and fire two consecutive rounds to secure the knockdown before their bolt can cycle.
Discover additional gunsmith builds in our Tactical Loadout Vault or review full operator pairings in the Operator Tier List.
Frequently Asked Questions
Why is the M14 considered the top designated marksman rifle?
The M14 fires 7.62x51mm NATO ammunition delivering 68 base damage per shot with a semi-automatic cyclic cap of 450 RPM. This allows operators to break through Level 4 armor and eliminate targets in two rapid upper-torso impacts at ranges over 80 meters.
How do I import this M14 Gunsmith code in-game?
Open the Weapons tab in Delta Force, select the M14 Marksman Rifle, open the Gunsmith workbench, click 'Share / Import' in the bottom-right corner, paste the code string, and press Apply to equip all 11 calibrated attachments.
What is the best scope magnification for the M14 in Delta Force?
A variable LPVO tactical scope or a compact prism optic provides the optimal balance between tracking running targets in Layali Grove valley hillsides and holding tight sightlines across Space City launching pads.