Delta Force Space City Guide: Safe Extraction Routes
Master Delta Force Space City extraction routes: Centrifuge core elevator, south launch gantry service tunnels, sewer vents, and conditional evac points.
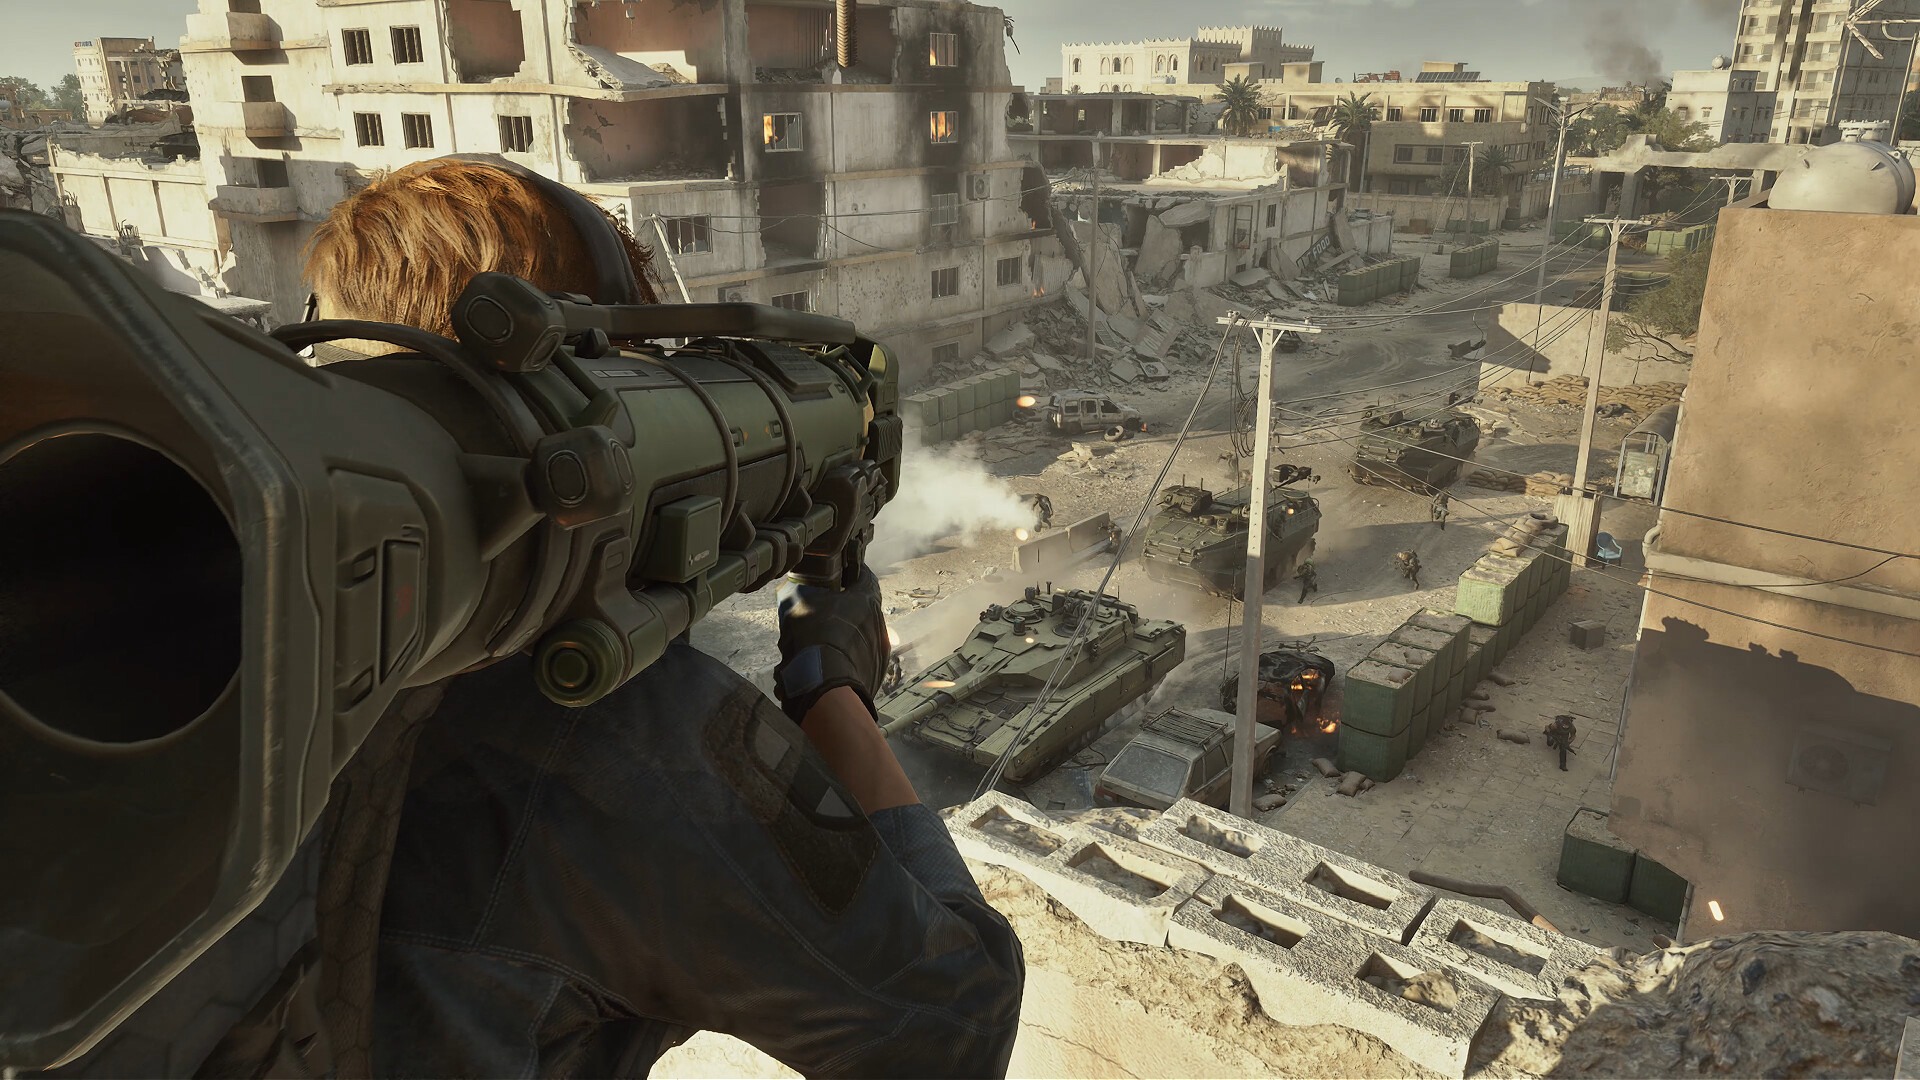
Space City extractions fall into two operational categories: conditional core evacs requiring specific triggers (SZ3 Keycard for the Centrifuge Elevator or dropping backpacks for the sewer vent) and unconditional perimeter exits like the Launch Gantry Service Tunnel and Western Heli-Pad.
Space City represents the pinnacle of vertical combat and high-stakes extraction in Delta Force Hazard Operations. Set within an expansive aerospace launch complex and research citadel, this operational theater features towering launch gantries, subterranean centrifuge centrifuge bays, and cavernous assembly hangars.
Unlike the horizontal sprawl of Zero Dam or Layali Grove, Space City forces squads to contest narrow vertical choke points, elevator shafts, and pressurized airlocks. Navigating from high-tier loot zones in the Centrifuge Lab or Executive Archives to safe extraction zones requires a strict operational protocol. One delayed rotation or uncoordinated sprint across the tarmac exposes your entire squad to sniper crossfires from gantry walkways.
This operational guide details the verified extraction points, countdown conditions, equipment restrictions, and tactical evacuation routes across Space City.
Space City Extraction Points Overview
Space City divides its extraction zones into unconditional perimeter pathways and high-risk conditional mechanisms:
| Extraction Sector | Exit Name | Requirement / Condition | Siren Risk Profile | Primary Ambush Angles |
|---|---|---|---|---|
| Central Subterranean | Centrifuge Core Elevator | SZ3 Keycard swipe + 45s timer | Maximum (Audible map-wide) | Upper balcony catwalks and elevator lobby doors |
| South Perimeter | Launch Gantry Service Tunnel | Unconditional open extract | Low (Silent green flare) | Industrial maintenance ladders and gantry overwatch |
| Western Outskirts | West Landing Pad Heli-Evac | Signal flare launch + 30s defense | High (Visible smoke and audio) | Radar tower catwalks and fuel pipeline ditches |
| Northern Drainage | Subterranean Sewer Vent | Zero backpack restriction (Drop rig) | Zero (Immediate covert exit) | Water intake tunnel entrance and pump room pipes |
| Eastern Railway | Cargo Transit Rail Siding | Timed armored train arrival | Moderate (Train horn signal) | Logistics warehouse loading docks and crane perches |
High-Risk Conditional Extractions
Mastering Space City requires understanding conditional extraction mechanics. These points offer rapid escapes from central hot zones but demand preparation and tactical sacrifice.
1. Centrifuge Core Elevator (SZ3 Access Keycard)
The Centrifuge Core Elevator is located directly beneath the central centrifuge test ring. It represents the fastest route out of the high-tier loot vaults, but executing it requires strict team coordination:
Centrifuge Core Elevator Sequence:
  1. Breach the subterranean security terminal using an SZ3 Keycard.
  2. Interface with the heavy steel console to trigger the descent sequence.
  3. A facility klaxon sounds, flashing red strobe lights throughout the centrifuge sector.
  4. Hold defensive crossfires covering the two primary airlock blast doors for 45 seconds.
  5. As the elevator floor aligns with the platform, all squad members must step inside.
  6. The inner safety gates lock down, securing your extraction regardless of exterior hostiles.
- Tactical Tip: Deploy smoke grenades inside the elevator cabin just before the gates close. Hostile teams pushing the final five seconds will spray through the threshold blindly; smoke disrupts thermal lock-on and precision headshots.
2. Subterranean Sewer Vents (Backpack Drop Exit)
Located along the northern drainage ditch adjacent to the water treatment pump facility, the sewer vent provides an emergency escape hatch when squadmates are eliminated or your ammunition reserves are depleted:
- Restriction: You cannot enter the vent while wearing an external backpack.
- Protocol: Prioritize high-value electronic chips, Mandelbrick fragments, and legendary keys into your secure container and chest rig pockets. Drop your field backpack behind cover, verify your equipment weight, and interact with the drainage grating to initiate the covert exit.
- When to Use: Ideal for solo scav runs or survival-focused extractions when surrounding gantry corridors are locked down by rival marksman teams.
Tactical Movement Routes Across Space City
Moving between combat sectors in Space City demands strict lane discipline. Avoid open tarmac plazas at all costs; use reinforced utility corridors, drainage trenches, and underground transit tunnels.
Route Alpha: Central Assembly to South Launch Gantry
This is the recommended path for squads carrying heavy extraction loot from the central avionics workshops:
- Exit Assembly Bay 2: Descend through the southern maintenance stairwell rather than the primary overhead crane catwalk.
- Utilize Fuel Pipeline Trenches: Move along the subterranean fuel conduit trench that runs parallel to the launch pad blast deflectors. This trench provides five-foot concrete revetments against gantry sniper fire.
- Breach Maintenance Corridor 4: Enter the southern industrial complex through the ground-level compressor room. Clear corners with close-quarters weapons.
- Final Approach: The green extraction flare inside the service tunnel signals active evacuation. Establish defensive sectors facing the northern tunnel entrance until the extraction countdown completes.
Assembly Bay 2 (Basement)
       │
       ▼ [Concealed Stairwell]
Fuel Pipeline Deflector Trench
       │
       ▼ [Anti-Sniper Revetment]
Compressor Room Airlock
       │
       ▼ [CQC Sweeping]
South Service Tunnel Extraction (GREEN FLARE)
Route Bravo: Executive Tower to Western Heli-Pad
When looting the administrative and executive archives on the eastern flank, rotating to the western helicopter pad requires crossing the central thoroughfare:
- Sub-Level Transit: Never cross the open launch apron. Drop into the sub-surface logistics tunnel connecting the executive basement to the vehicle motor pool.
- Motor Pool Staging: Use derelict transport trucks and shipping containers for hard cover. Scout the western radar dish for glint from sniper scopes.
- Signal Flare Deployment: Fire the green extraction flare only after confirming the radar tower is clear of hostile marksmen.
- Defensive Perimeter: Form a defensive triangle around the concrete landing circle. Deploy deployable ballistic covers or trophy systems to neutralize incoming explosive ordnance while the extraction helicopter touches down.
Common Extraction Pitfalls and Countermeasures
Pitfall 1: Camping the Core Elevator Door
Many inexperienced squads attempt to take cover inside the elevator while waiting for the timer. This turns the elevator chamber into a lethal grenade funnel.
- Countermeasure: Position two squad members outside the elevator holding the exterior doorway angles. Only step inside the cabin during the final five seconds of the descent cycle.
Pitfall 2: Ignoring Vertical Sound Cues
Space City features multi-tiered concrete floors. Footstep audio above you can sound deceptively close.
- Countermeasure: Check the tactical compass heading and visual sound visualizer cues. Heavy metallic footsteps indicate catwalk movement above, while muffled thuds indicate concrete sub-level movement below.
Pitfall 3: Tarmac Sprinting
Sprinting straight across the central launch tarmac to reach the opposite side saves thirty seconds but results in team wipes eighty percent of the time.
- Countermeasure: Commit to the additional forty seconds required to route through subterranean maintenance tunnels. Safe extraction always trumps travel speed.
Extraction Gear Checklist for Space City
Before deploying into Hazard Operations on Space City, equip your squad with these vital tactical assets:
- SZ3 Access Keycard: Kept in the secure case to guarantee the central elevator escape option.
- Smoke Grenades (Minimum 2 per operator): Critical for obscuring line-of-sight during helicopter landings and open corridor extractions.
- Tactical Inhaler / Stamina Stimulant: Enables continuous sprint rotations through dangerous gantry sniper sightlines without stamina exhaustion.
- Armor-Piercing Ammunition: Guards protecting the central elevator terminal wear heavy Level 4 and Level 5 body armor; standard rounds fail to achieve swift time-to-kill.
Frequently Asked Questions
What is the safest extraction point on Space City?
The South Launch Gantry Service Tunnel offers the most concealed approach angle with minimal vertical sniper exposure, though operators must sweep interior maintenance catwalks for defending scav squads.
How does the Centrifuge Core Elevator extraction work?
Operators must swipe an SZ3 Keycard at the control console, withstand a forty-five-second countdown siren while holding the circular chamber, and board the descending platform before the blast doors seal.
Can you extract through Space City sewer ducts with a backpack?
No. The subterranean sewer vents impose a strict zero-backpack restriction. You must drop your field rucksack to squeeze through, retaining only chest rig items and secure pocket loot.